Removing Gel Polish Without Nail Damage: Drill or Remover?
How gel polish is removed often decides how good the natural nail looks at the next appointment. Too much pressure, too coarse a grit or peeling off polish residue weakens the nail plate. In this article we compare the three common methods – remover, file and e-file – and show you step by step how to work gently and hygienically.
The three methods at a glance
| Method | Suitable for | Advantages | What to watch out for |
|---|---|---|---|
| Remover (soak-off) | soak-off gel polishes | little mechanical stress, good for beginners | needs time to work, the surface must be roughened first |
| File | gel polish, thin layers | good control, no device needed | time-consuming, risk of filing too deep |
| E-file | gel polish, builder gel, thick layers | fast and precise | requires practice, the right bit and light pressure |
Method 1: Soaking off gel polish with remover
With soak-off, a special liquid or gel dissolves the cured polish so that it can then be pushed off. For the remover to penetrate, the glossy top coat layer must be roughened first.
You will find two options with us:
- Liquid remover with foil: The MOLLON Pro Gellackentferner UV Remover Quick & Easy is applied with a pad and wrapped in aluminium foil. After a few minutes, the dissolved layer can be rubbed off.
- Gel remover: The JOIA vegan Gellackentferner Bye-Bye Gel is applied directly to the roughened polish and left for up to 15 minutes. As it is a gel, it does not run onto the skin.
Patience is key: if the polish has not loosened yet, leave it a little longer rather than pushing or peeling it off by force.
Method 2: Filing off gel polish
A hand file gives you a lot of control but takes more time. Use a medium grit for removal and work evenly from the centre to the edges. As soon as the colour becomes noticeably thinner, switch to a finer file or a buffer.
Files with a replaceable abrasive system are practical: the base stays, and the abrasive strip is replaced after every client. Staleks offers mineral and paper files with matching replacement files for this.
Method 3: Removing gel polish with an e-file
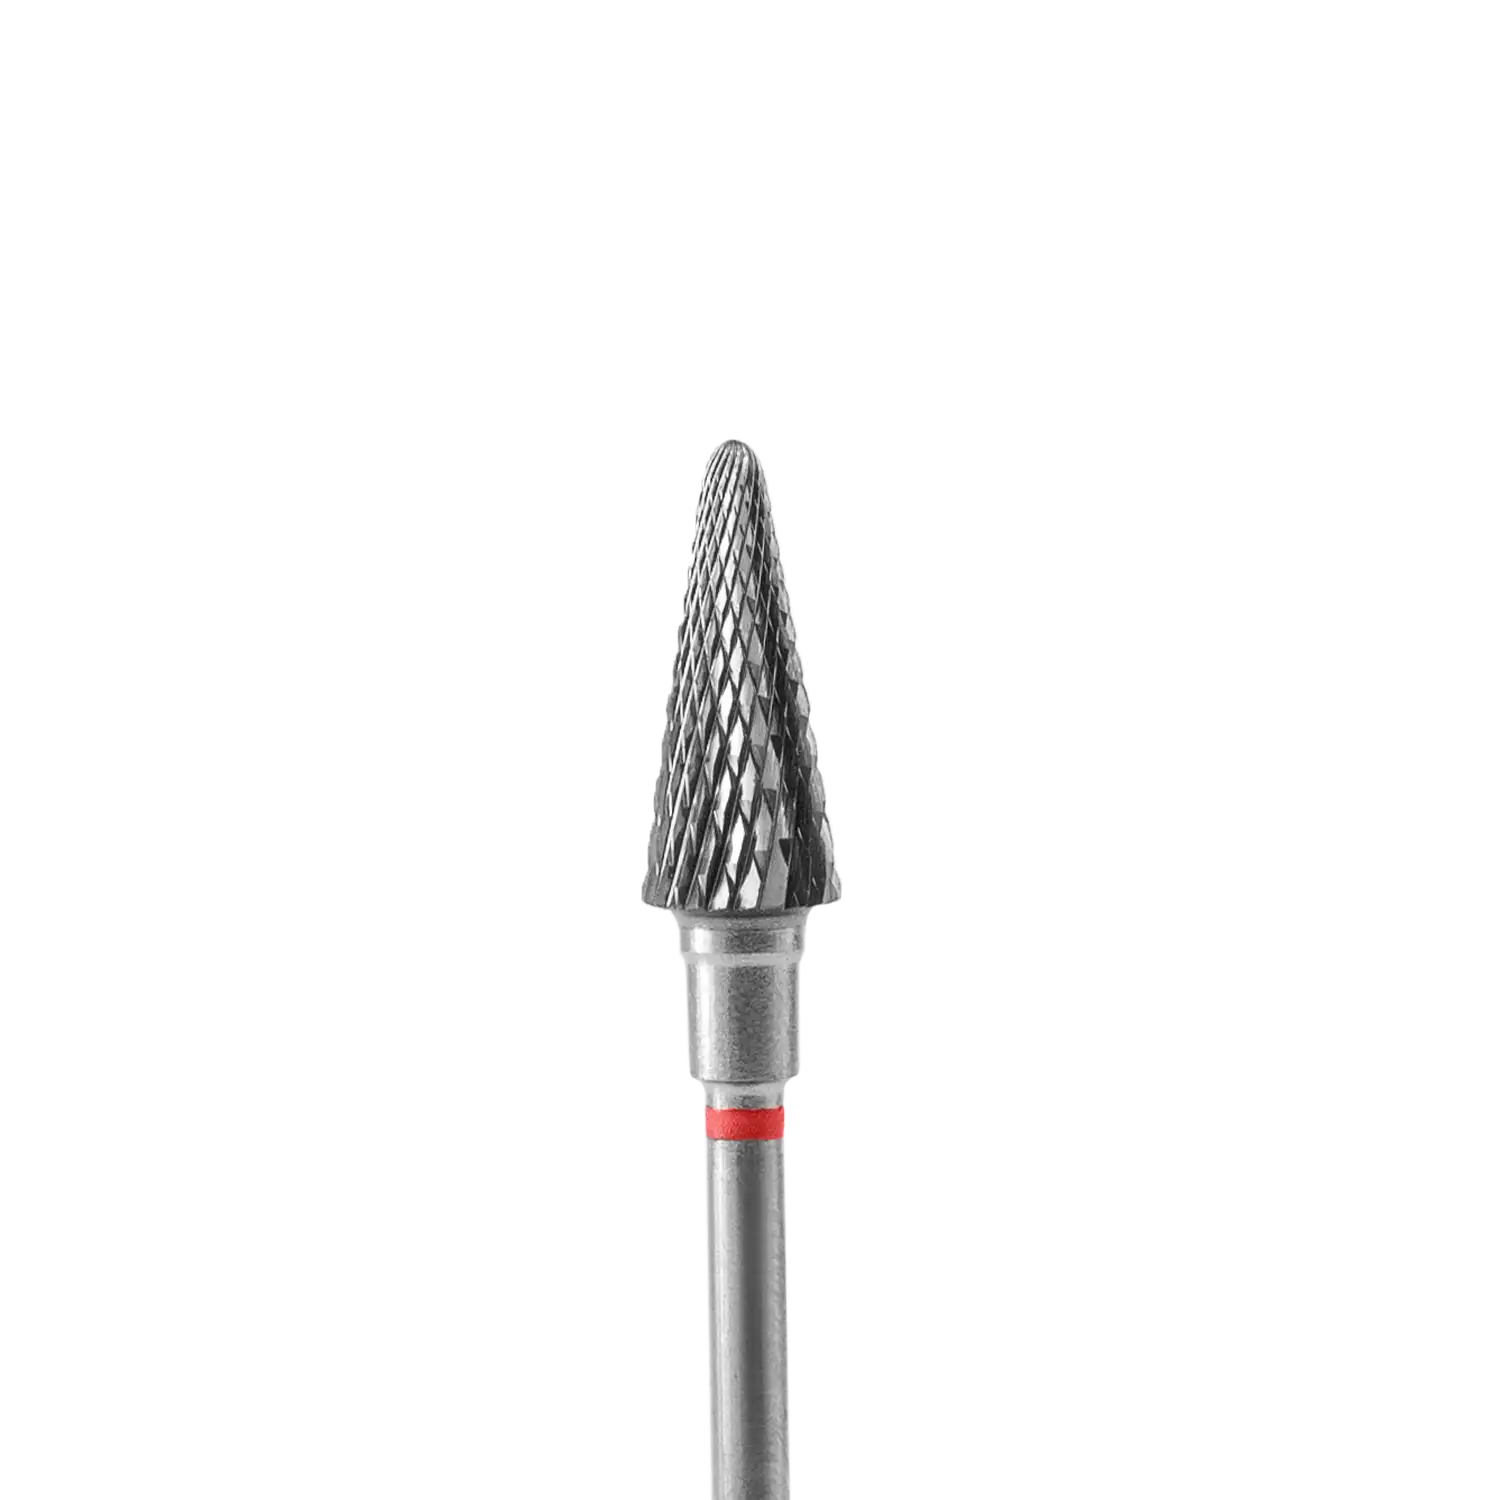
In everyday salon work, the e-file is the fastest method – provided you work with the right bit, adjusted speed and light pressure. Carbide bits are often used for removing artificial material, such as the Staleks Hartmetallfräser EXPERT Kegel Rot with a fine cut. According to the description, this shape is used for corrections and for removing artificial material.
The golden rule of e-filing: Do not file down to the natural nail. Leave a thin layer of base. It protects the nail plate and serves as a foundation for the new base. This way you avoid thin, sensitive areas.
For work around the cuticle, fine diamond bits in narrow shapes are also suitable.
Step by step: removing gel polish gently with an e-file
- Prepare hands and workstation: Clean the client’s hands, lay out sterile instruments, check the e-file and bit.
- Insert the bit correctly: Insert the clean bit firmly and centrally into the handpiece. Set the speed and direction of rotation according to the device manufacturer’s instructions.
- Remove the top coat: Work over the nail surface with light pressure and even, flat movements. Never let the bit rest in one spot.
- Reduce the colour: Remove the colour layer step by step, regularly clearing away the dust to see your progress.
- Leave a thin layer of base: Stop as soon as the colour is gone. A thin layer of base stays on the nail.
- Work carefully around the cuticle: Remove residue near the cuticle with a fine bit or a fine file without injuring the skin.
- Smooth the surface: Lightly refine with a buffer and remove the dust thoroughly.
- Continue or care: Either start straight away with the new base or, if no new set follows, care for the nail.
These mistakes damage the natural nail
Peeling or picking off gel polish
Peeling often tears away the top layers of the nail plate. The result is rough, thin nails. Gel polish is always dissolved, filed or e-filed – never torn off.
Too much pressure and too high a speed
High pressure creates frictional heat and grooves. Let the bit do the work and guide it loosely.
Too coarse a grit
A coarse grit removes material quickly – including the natural nail. For gel polish, a fine to medium version is usually enough.
Remover without roughening
Without a roughened surface, the remover can hardly penetrate. It then takes a long time, and the temptation to scrape increases.
Hygiene: reprocessing instruments correctly
E-file bits, pushers and metal files are used on every client and must then be fully reprocessed. The usual procedure in many salons:
- Clean: Remove dust and material residue with a brush.
- Disinfect: Place the instruments in a suitable instrument disinfectant and observe the contact time stated by the manufacturer.
- Ultrasonic cleaning: Fine residue in grooves and cuts is loosened in an ultrasonic bath, e.g. in the MICROSTOP Ultraschallreiniger MU-SMART.
- Sterilise: Reprocess packaged instruments in a hot air steriliser, such as the MICROSTOP Heißluftsterilisator Optimal.
Disposable abrasive strips and buffers are thrown away after the treatment. You define which steps apply to your business in your hygiene plan.
FAQ on removing gel polish
Which method is the gentlest?
All three methods are gentle when used correctly. For beginners, a remover is often the easiest; in the salon, an e-file with a fine bit and light pressure delivers a fast, clean result.
Can I remove builder gel with remover too?
Builder gel and thick layers are usually e-filed or filed. For Bye-Bye Gel, the manufacturer recommends a combination for builder gel: shorten with the e-file first, then dissolve the rest with the remover.
Do I have to remove the base completely?
No. A thin layer of base can stay as long as it adheres firmly and shows no lifting. This protects the nail plate.
How often do I need to reprocess e-file bits?
After every client: clean, disinfect and sterilise.
Conclusion
Whether remover, file or e-file – what matters is patience, light pressure and a thin remaining layer of base. With properly reprocessed instruments, you are on the safe side. You will find suitable bits in our category Nail Drill Bits & Attachments, and removers in our range of liquids.